Project Setup in GeoSWMM
The next step is to set a storm-water network model using GeoSWMM in ArcGIS Pro for the study area. GeoSWMM develops and maintains model in a project file which is configured in a standard ArcGIS Pro geodatabase (.gdb) file formats. To setup the GeoSWMM project:
- Launch ArcGIS Pro in your computer. A new window with various options like Map, Catalog, Global or Local Scene will open in- ArcGIS Pro. Now Select Map, and create a New Project. Now add all network shape files from Add Data Options from the directory- Shape_Files. The window should look like the following figure.
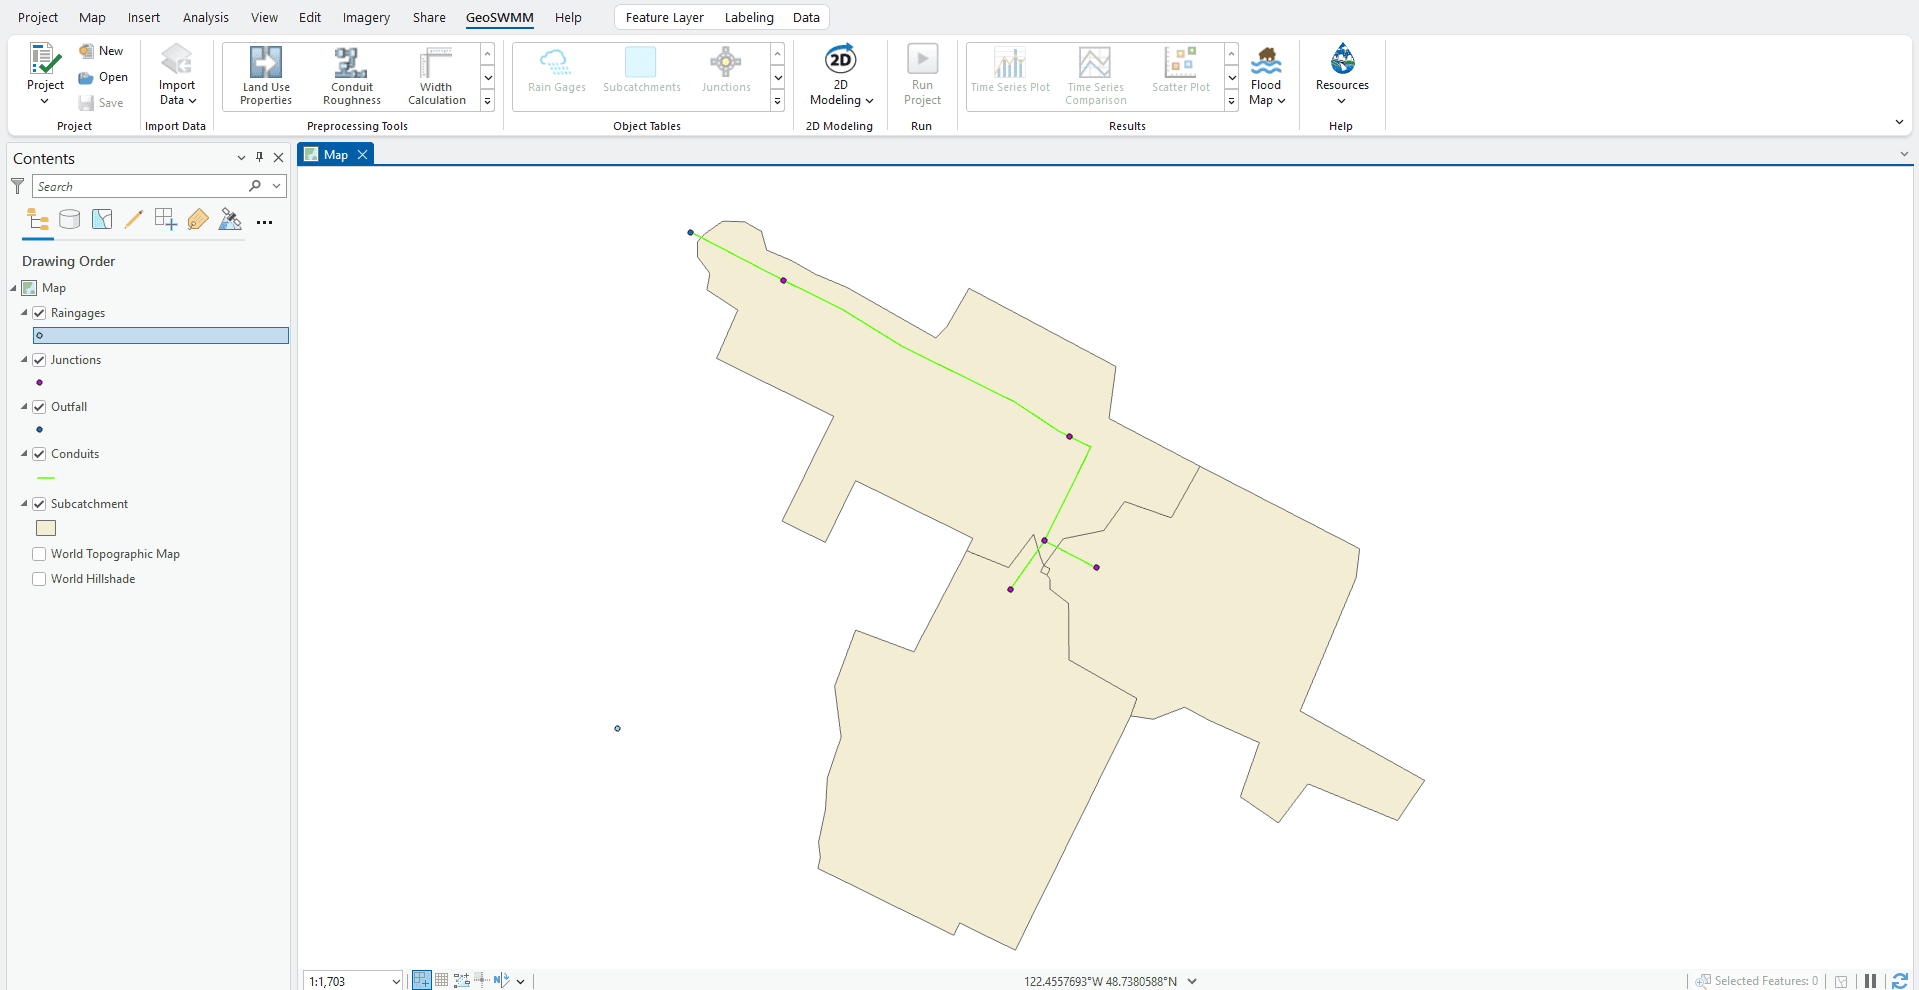
Fig 4: ArcGIS Pro project window
- Check if the GeoSWMM tab is shown on the ArcGIS Pro project window. If it's not shown then check the Add In Manager of ArcGIS Pro. Note that GeoSWMM must be successfully installed to your computer for this purpose. When selected, GeoSWMM tab will be displayed on the ArcGIS Pro project window. It should look like the following figure.

Fig 5: GeoSWMM Tab
- On GeoSWMM tab, click on the New Project () Button on the tab. Or you can also specify it from the Project menu on that tab. It will invoke for the project directory and a project file name in a new window like following.


Fig 6: New project creating window in GeoSWMM
- Now click on the Browse button and provide the project directory and a new ArcGIS Pro geodatabase file. A new window, like the following figure, will invoke where this information needs to be inserted.
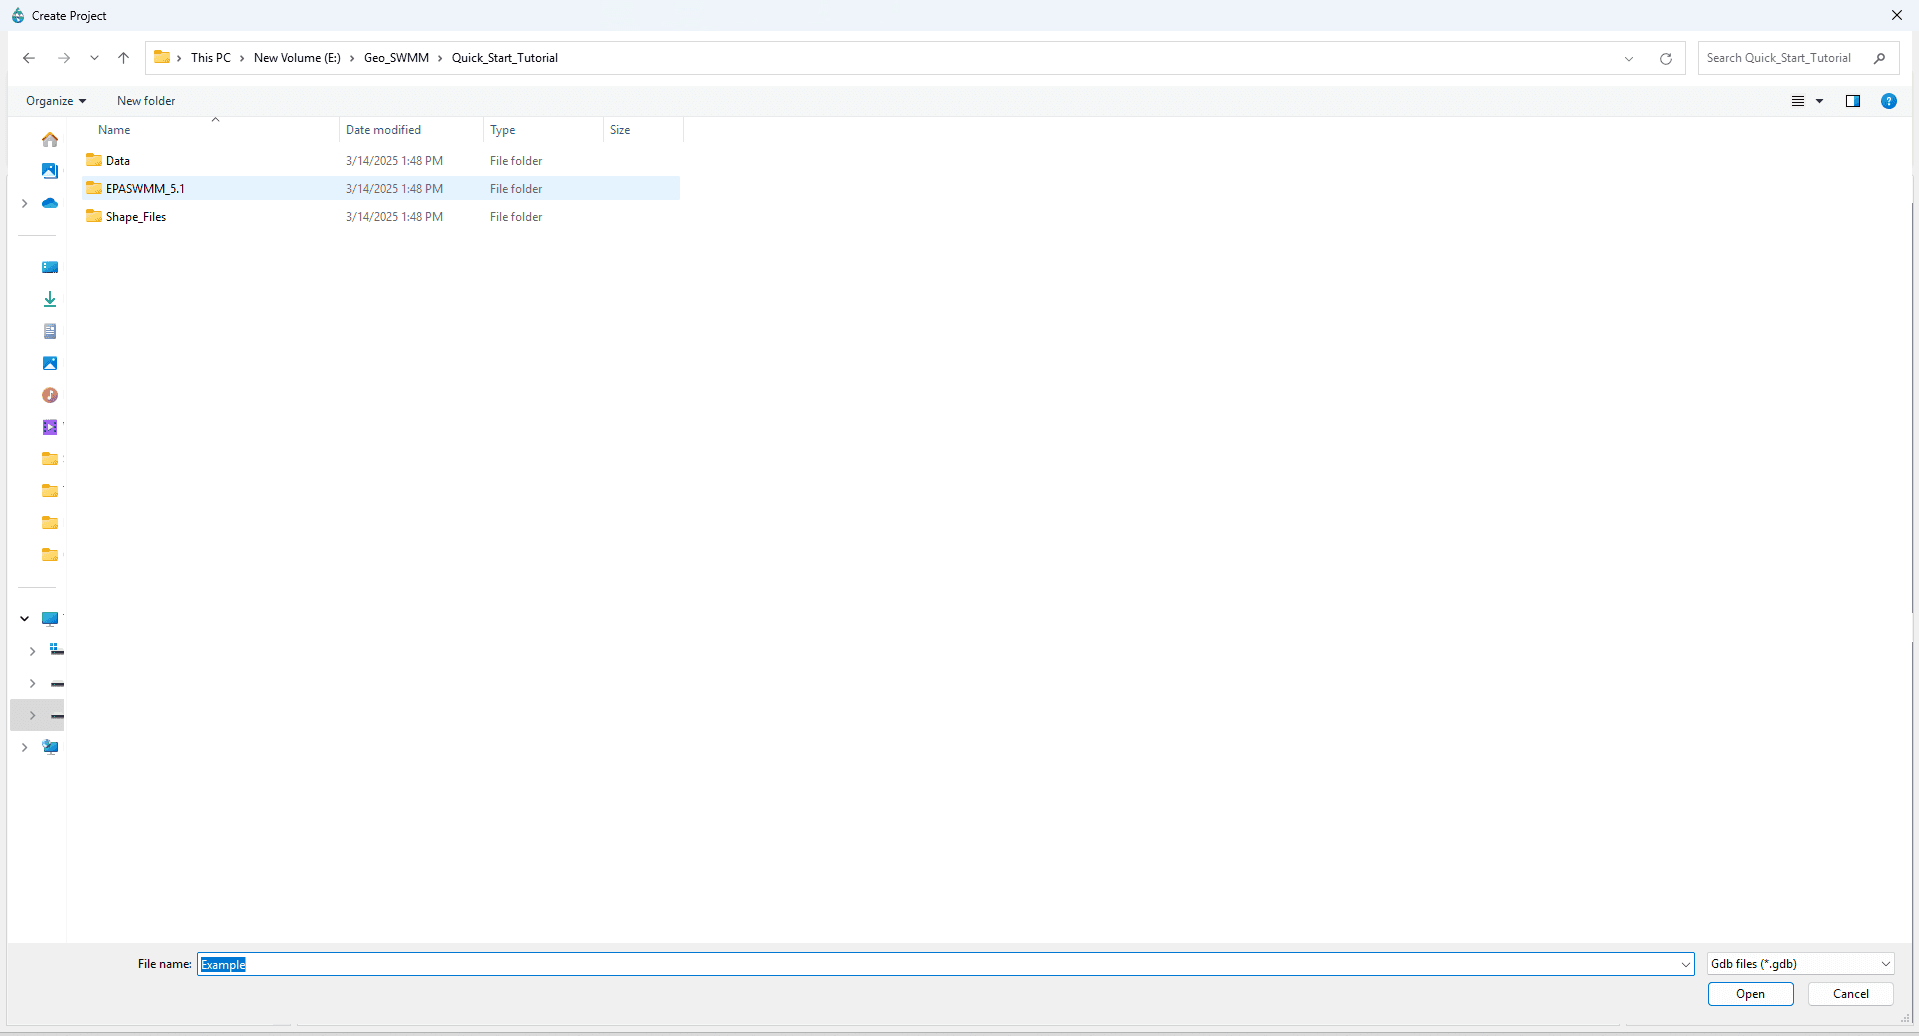
Fig 7: New geodatabase file creation for a GeoSWMM project
-
Click on the *File Name at the bottom of the above window and name it as- Example, then make sure the file type is Gdb Files (.gdb) then click Create to specify the geodatabase file for a GeoSWMM project.
-
Set appropriate project spatial reference system. Pressing the coordinate system button (
) shows a dialogue box like the following.

Fig 8: Project coordinate setting confirmation window
Pressing the “Yes” button here makes the coordinate system for the new geodatabase(.gdb) project the same as the coordinate system of the ArcGIS Pro Map Data Frame. Pressing the “No” button allows the user to choose any coordinate system from the inbuilt ArcGIS Pro coordinate system library. Here users can select the appropriate coordinate system from the list or import from an external layer.
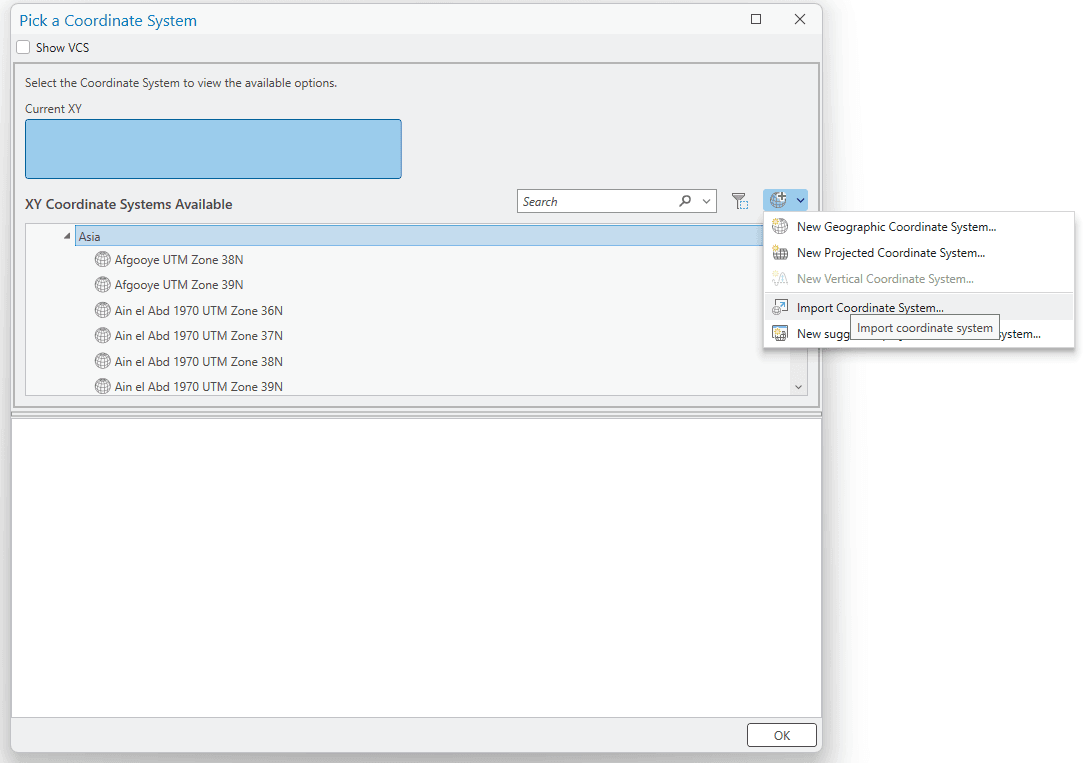
Fig 9: Project coordinate import window
- After specifying the file directory with name and setting project coordinate system in above step, click OK to finally create a new GeoSWMM project geodatabase. On successful project creation, the window will display a message like the following. Click OK to accept.
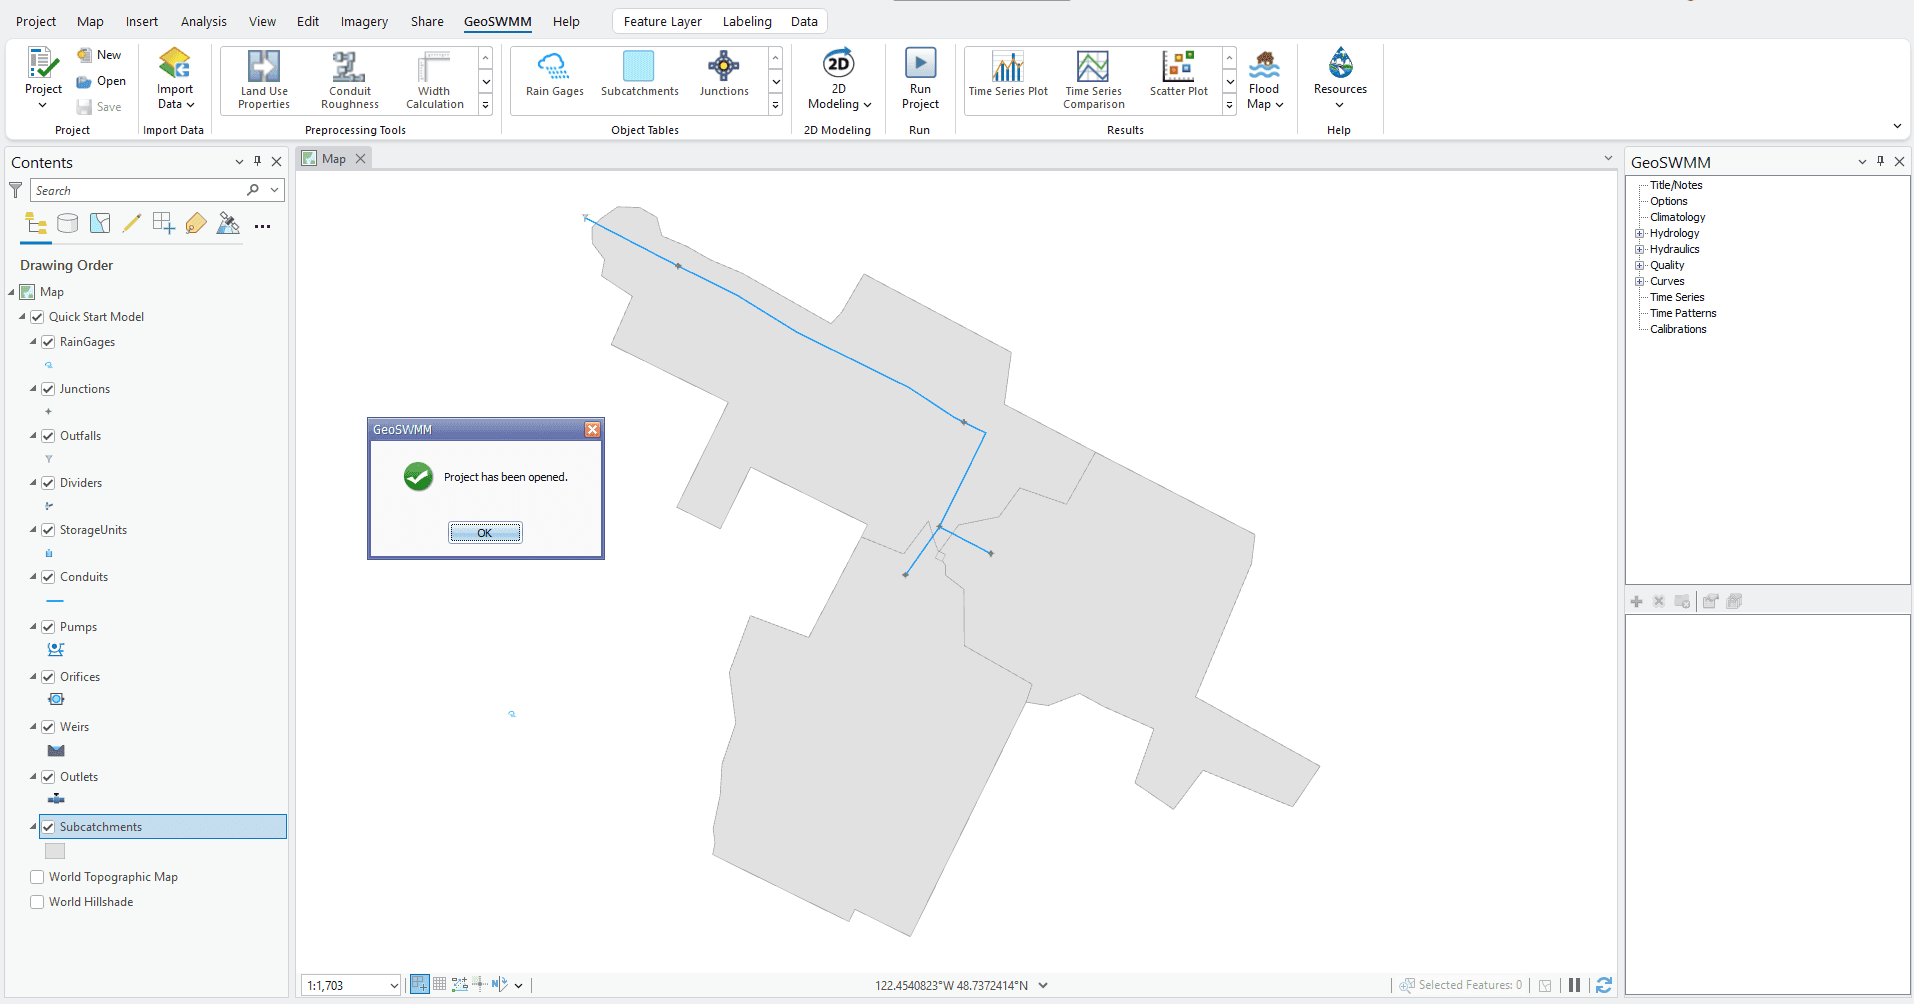
Fig 10: A newly created GeoSWMM project geodatabase
Notice that the ArcGIS Pro Table of Contents show the newly created geodatabase which contains six program-defined feature layers such as- Junctions, Reservoirs, Tanks, Pipes, Pumps and Valves. First three layers are point-type feature layers whereas the remaining three are polyline-type feature layers. Besides, a new dock-able window is displayed which contains model object data. It is called Model Object Panel of a GeoSWMM project. At this stage, the database is almost empty as no model parameters are assigned yet. The next step is to build the model network in geodatabase- Example.gdb.

GeoSWMM project geodatabase in ArcGIS Pro
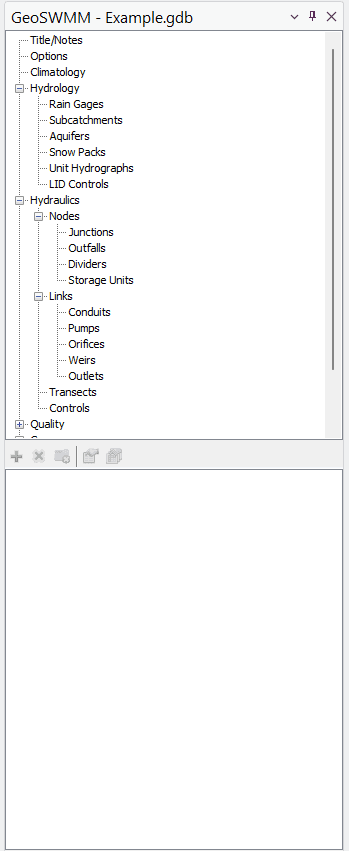
Model object panel of GeoSWMM
Fig 11: Project geodatabase and the Model Object Panel in GeoSWMM
