Drawing New Features in the Boundary Layer
The same tool gives the provision of updating a new feature and edit the geometry of a feature within the boundary layer.
To update a new feature or to edit a current feature follow the following steps,
- Go to Edit to start drawing a new feature. Arc GIS Pro edit option will become active.

Fig.151: Start editing/ drawing new feature(s) using Define Boundary Tool
- Click on Create feature**.**

Fig.152: Active ArcMap Editor Toolbar
- Click on Working_Layer to draw polygon.

Fig.153: Create feature option for a temporary Boundary Layer (e.g., Working_Layer)
-
Modify the vertices of the polygon.
-
Stop the Edits
-
Save the Edits.
-
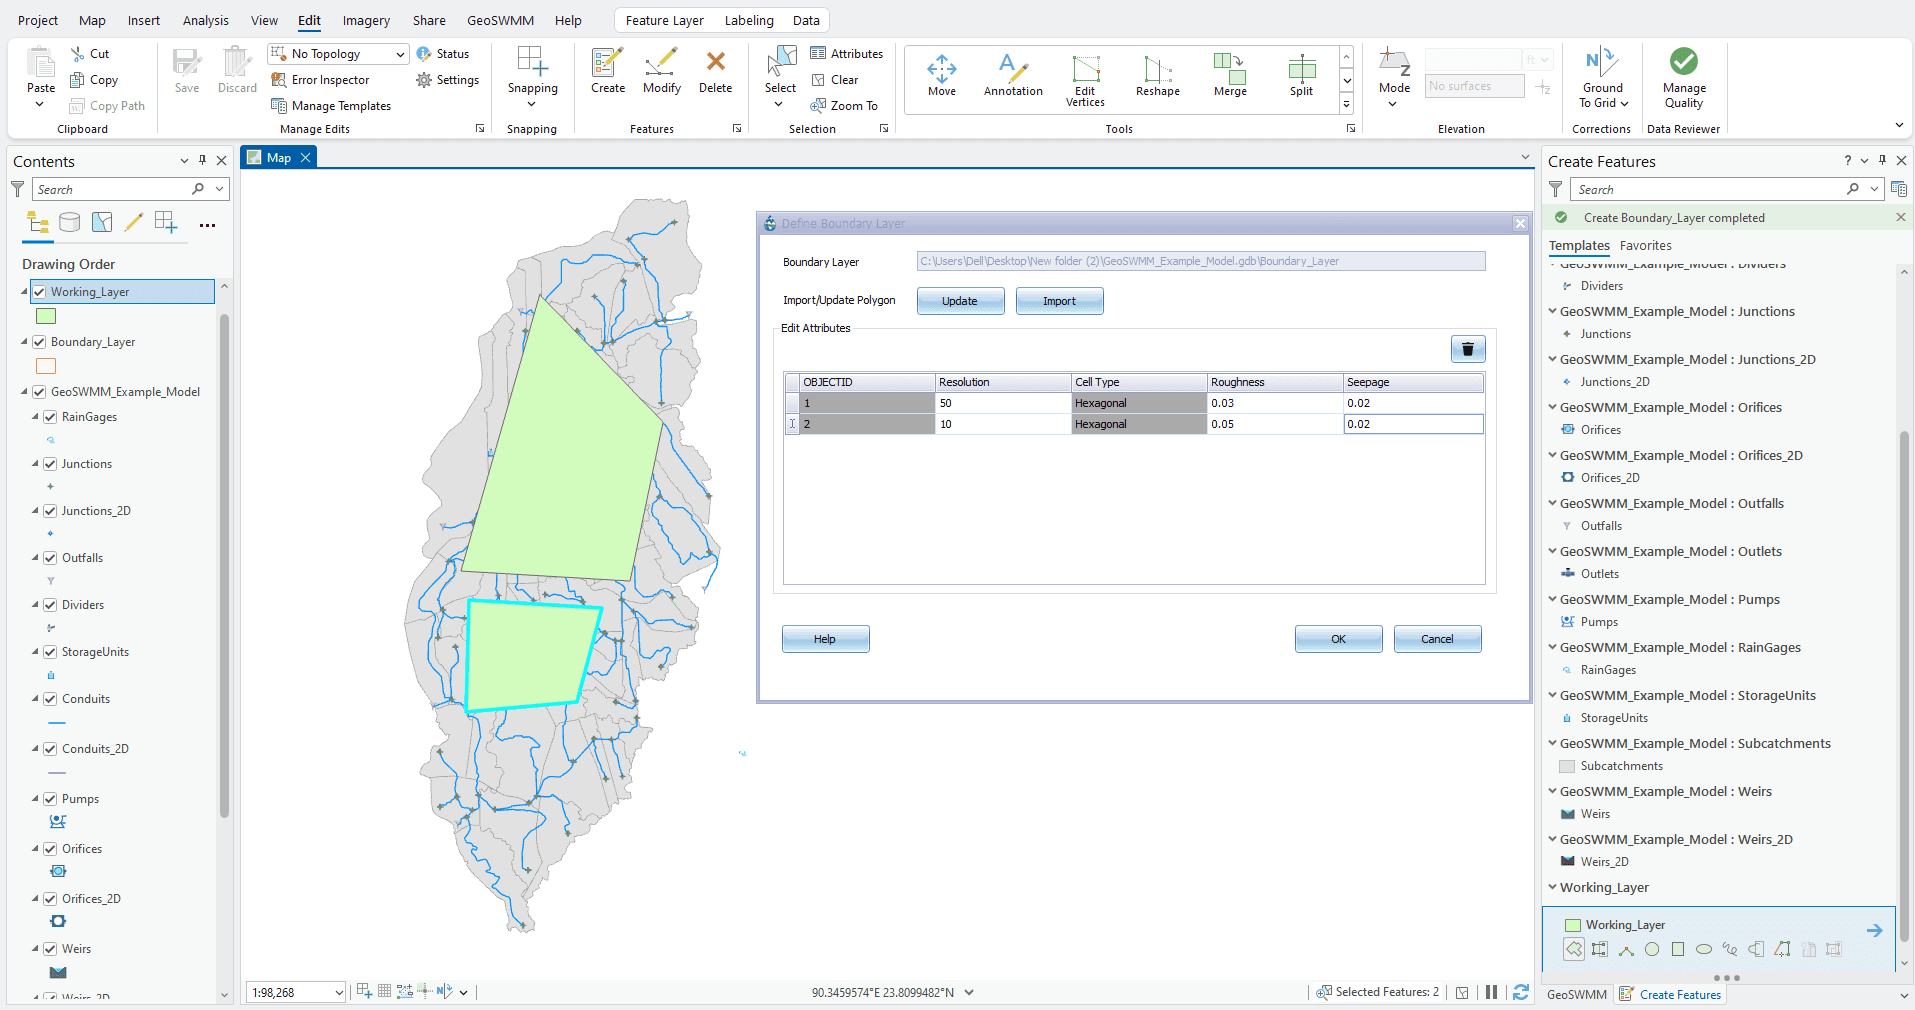
Press Update button to update the polygon features for the Boundary Layer.

Fig.154: Stop edit from Define Boundary Layer Tool window
-
New features will appear in the Edit Attributes table.
-
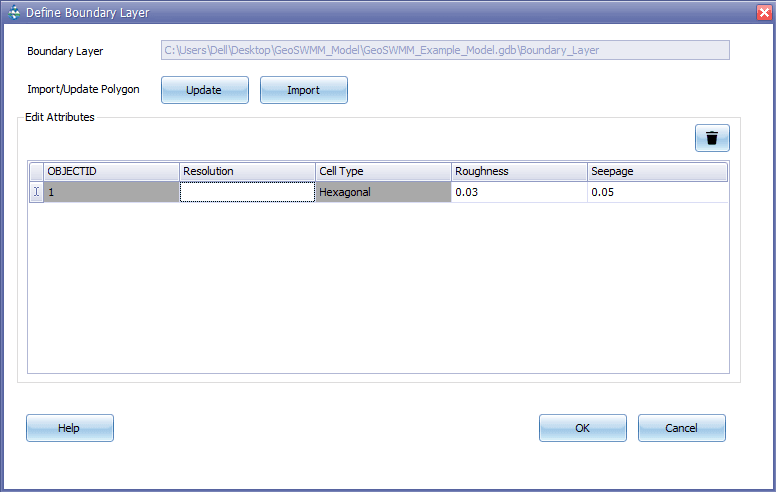
User can update the required fields of the new feature manually from Edit Attributes table.

Fig.155: Edit Attributes for each Boundary Layer feature in Tool window
- Press “OK” to add the features in the project Boundary layer. If there’s any blank attribute(s) in the Edit Attributes table, the following message will appear. Press “Yes” to update the attributes with defaults values. Press “No” to enter the attribute data in the table.

Fig.156: Confirmation requires for default value assignment
